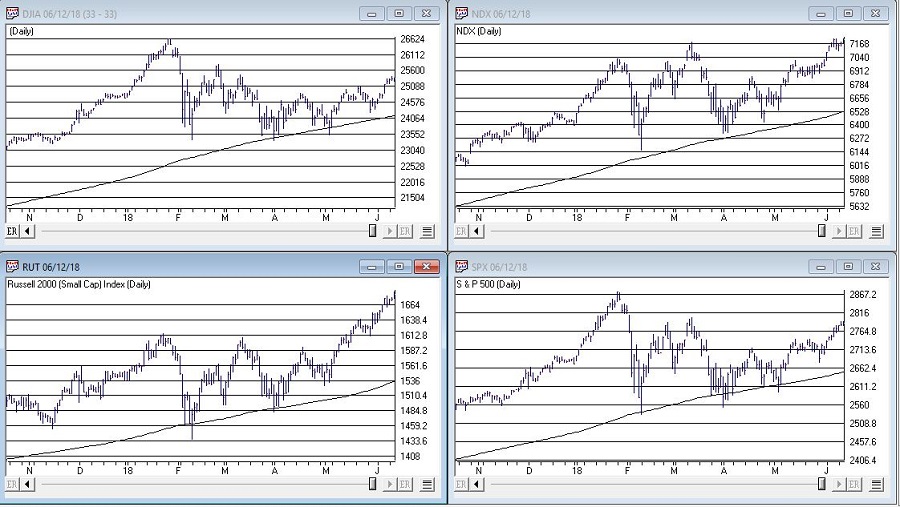
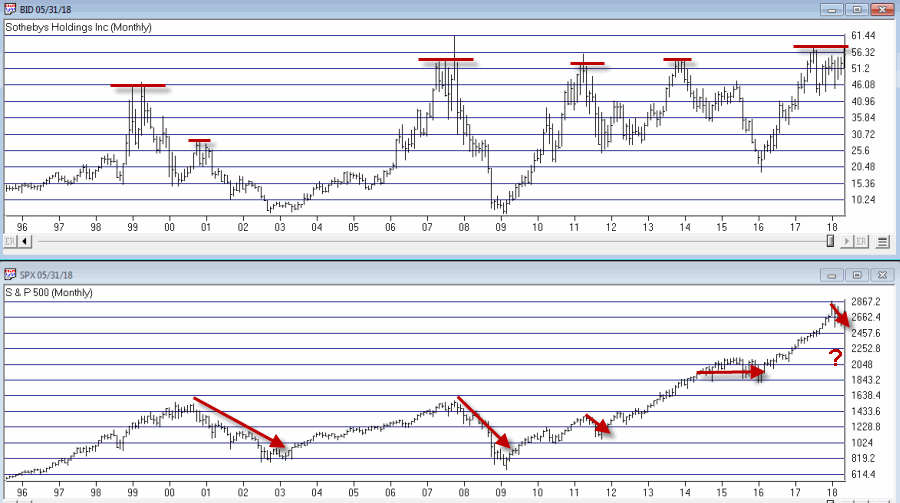
There are a lot of ways to play this game.
For the record, I am a big believer in trend-following. Picking tops and bottoms with any consistency is essentially impossible (at least in my opinion and/or experience). So from that perspective going with the trend makes a lot of sense. I am also a big believer in relative strength. Much evidence over the years suggests that buying what is “already moving” is a very viable approach to investing. Other studies have demonstrated pretty clearly that you are generally much more likely to succeed by buying stocks making new highs than by buying stocks making new lows.
These approaches make good sense and they work very well over time. Despite this many (most?) investors still feel those pangs to “buy low” in hopes of getting in early and riding a major trend. And the truth (I think) is that this can work too, if done correctly.
Like I said, there are a lot of ways to play this game. But there is a definite “right” way and “wrong” way when it comes to “buying low.”
Buying Low (The Wrong Way): Buy things are plummeting or that have recently plummeted.
The Right Way (The Right Way): Buy things that have, a) plummeted, b) stopped plummeting and, c) have since been moving sideways for some period of time.
Last year I wrote about a “Buy Low” portfolio that I had concocted at the time. Unfortunately, several of the ETFs involved have since ceased trading. So in this piece I will introduce my updated “Buy Low” portfolio. For the record – and as always – I am not “recommending” this portfolio. It is essentially an experiment in one alternative approach to investing.
The “Buy Low” Portfolio
The Buy Low Portfolio consists of the following ETF’s and ETN’s:
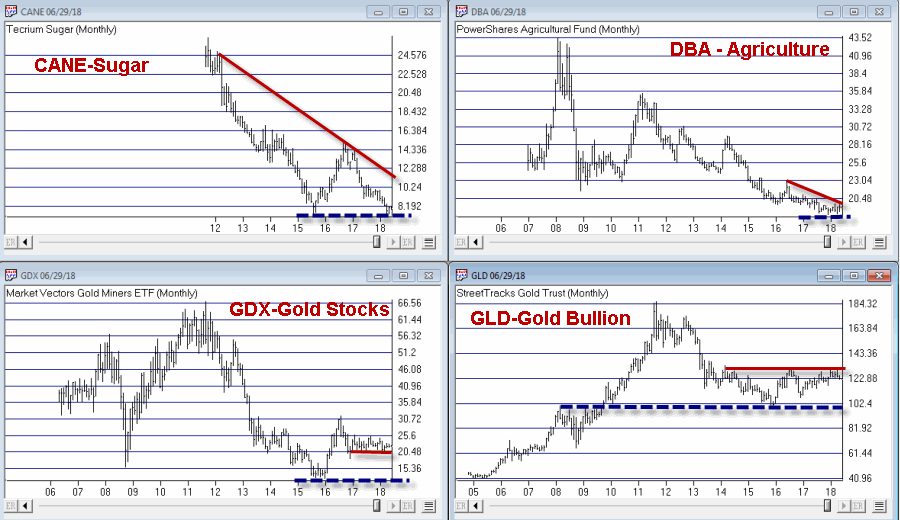
CANE – Tecrium Sugar
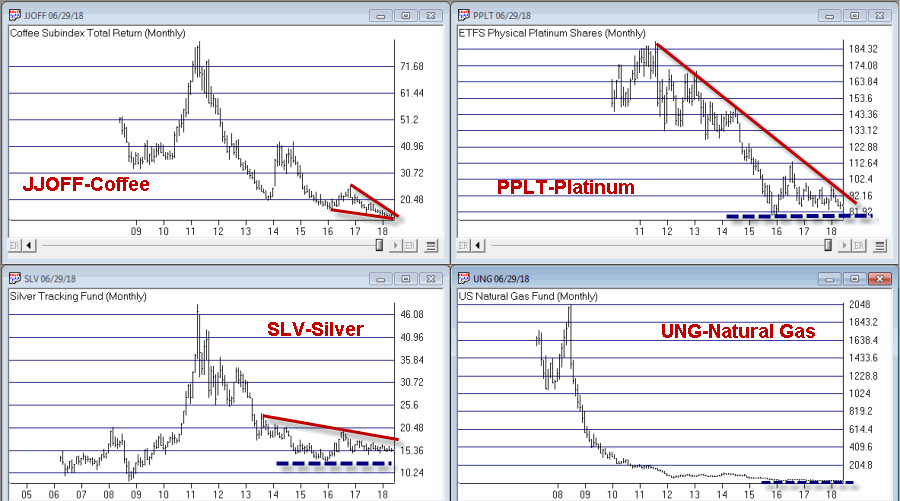
JJOFF – Coffee Subindex Total Return
DBA – PowerShares Agricultural
WEAT – Tecrium Wheat
GLD – StreetTracks Gold Trust
PPLT – ETFS Physical Platinum Shares
SLV – iShares Silver Trust
GDX – Market Vectors Gold Miners
UNG – United States Natural Gas
URA – Global X Uranium
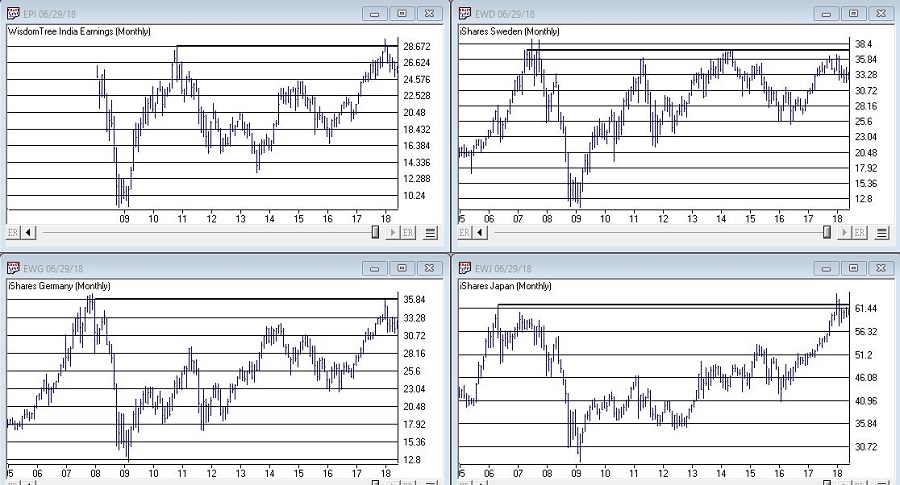
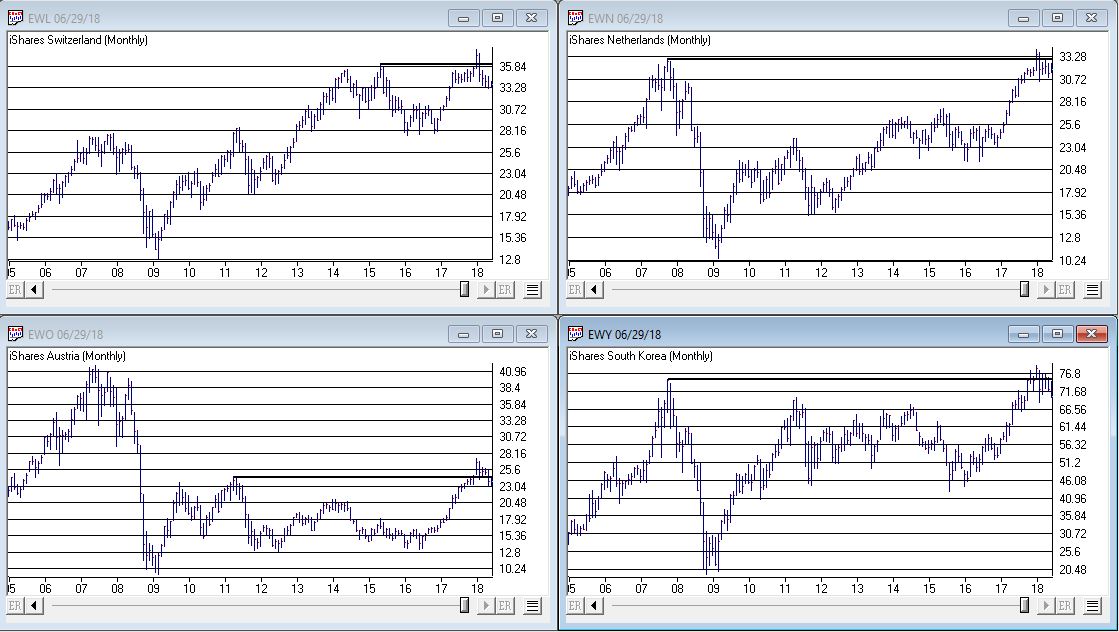
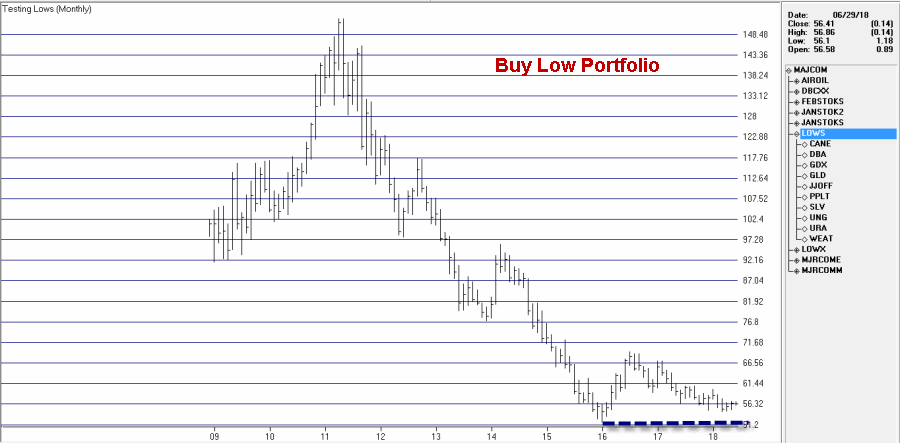
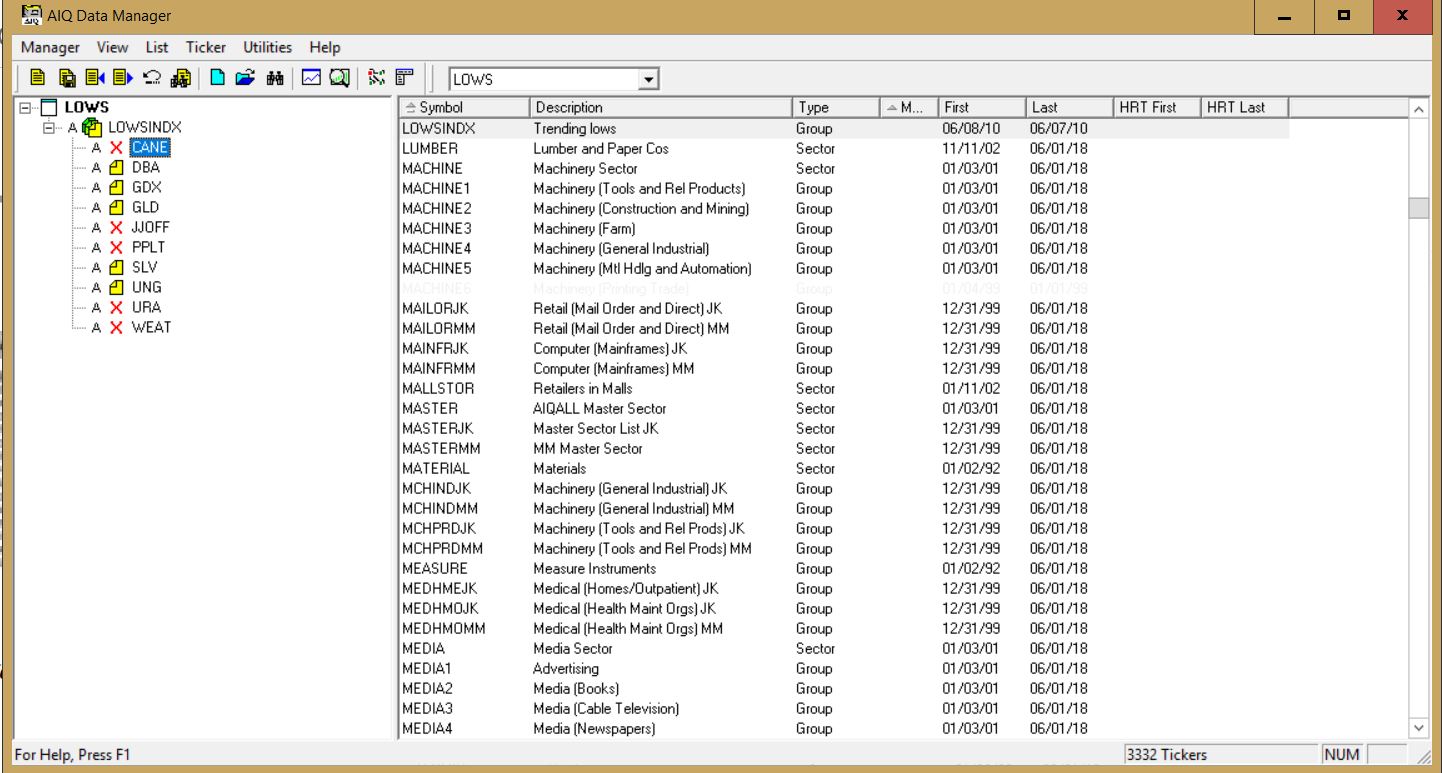
Monthly charts for these tickers appear in Figures 1 through 3. A chart of the composite index I created by combining all of these appears in Figure 4 (Click any chart to enlarge).
Editors note: To create an index like Jay’s Trending Low, follow the instructions at the end of this article ‘Creating an index for a group of tickers in Data Manager’
Summary
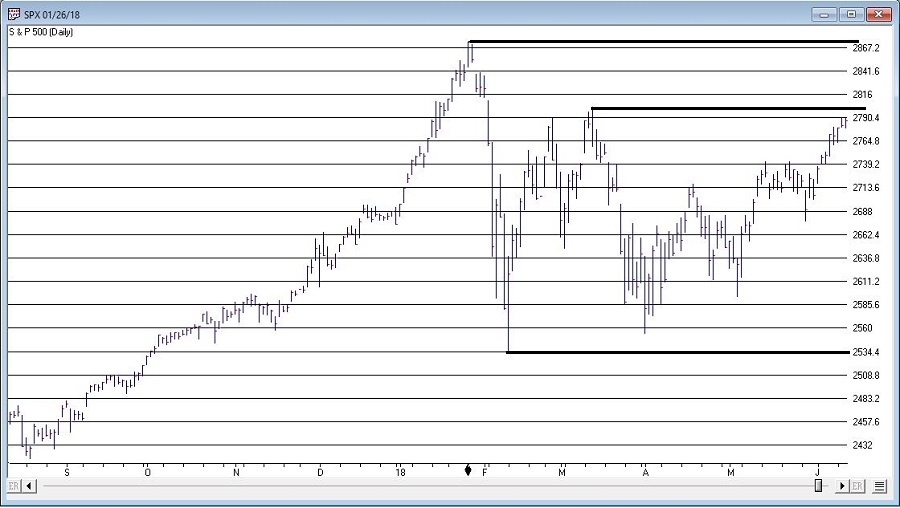
Securities that have plummeted in price and then moved sideways for a period of time can (unfortunately) continue to move sideways for quite a while longer before (hopefully) breaking out to the upside. Even worst, they can also fail and breakdown through the previous low. But extended consolidation patterns are often followed by something good.
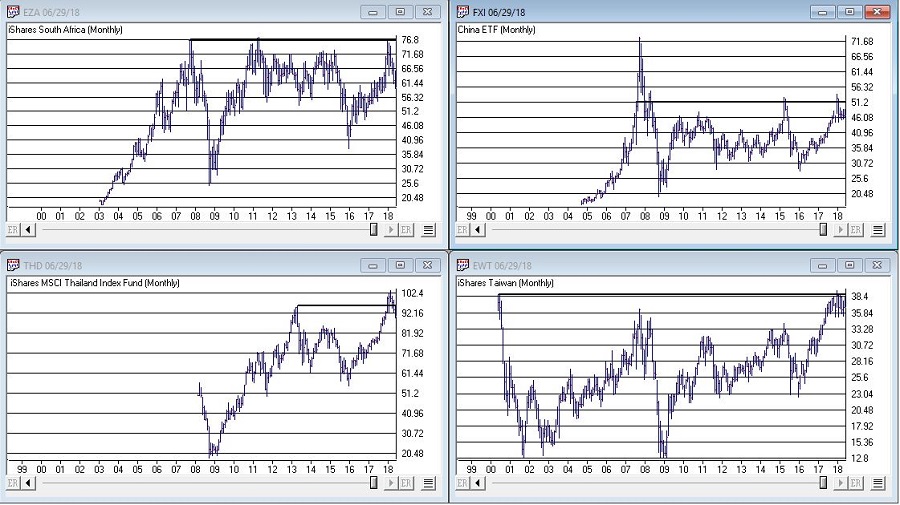
As you can see all of the tickers in the list above are commodity related. As I’ve written about
here and
here there is reason to believe that commodities will outperform in the years ahead. That being said, with the stock market rallying in the near-term and with the U.S. Dollar strong there is no compelling reason to think that this “Buy Low Portfolio” is going to make a lot of headway anytime soon.
The Index in Figure 4 is presently 8.2% above its January 2016 low. As long as that low holds I’ll give this experiment more time to work out.
Jay Kaeppel
Disclaimer: The data presented herein were obtained from various third-party sources. While I believe the data to be reliable, no representation is made as to, and no responsibility, warranty or liability is accepted for the accuracy or completeness of such information. The information, opinions and ideas expressed herein are for informational and educational purposes only and do not constitute and should not be construed as investment advice, an advertisement or offering of investment advisory services, or an offer to sell or a solicitation to buy any security.
Creating an index for a group of tickers in Data Manager
NOTE: tickers with X in list need to be added to the Data Manager as new tickers and downloaded from your data service
When you create an index for a group of tickers, you can display a chart of the index as well as the underlying tickers. A group index can be analyzed on charts using technical indicators, and Expert Ratings are generated for the group index (except for mutual fund
groups).
The procedure for creating an index for a group of tickers is as follows:
- First, create a group ticker for the index.
- Then create a list to insert the group ticker into.
- Add tickers to the group.
- Finally, create the index by executing the Compute Group/Sector Indices function.
To create an index for a group of tickers, follow the steps below.
First, create a group ticker:
1. First, add a new group ticker to your Master Ticker List. Select the
Ticker command on the menu bar. Then select New to display the
New Ticker dialog box.
2. Enter a ticker for the new group, then be sure to enter the proper
Type designation (group or mutual fund group).
3. Click OK, and the second dialog box for entering a new ticker
appears.
4. Type in a name (Description) and the First Date for data. The
remaining default settings on this second dialog box can remain the
same.
5. Click OK and the group ticker is added to your Master Ticker List.
Then, create a list to insert the group ticker into:
1. Select the List command on the menu bar.
2. Select New on the drop-down menu and a dialog box appears.
3. Type in a name (8 characters maximum) in the text box.
4. Click OK and the list name appears in the Selected List text box
located on the toolbar.
5. The list name is also displayed in the List window. Insert the group
ticker from your Master Ticker List under the list name. To insert a ticker directly under a list, do the following:
- Highlight (by clicking) the group ticker in the Master Ticker List.
- Click the list name in the List window.
- Click the Insert to List button on the toolbar (or select the Insert Ticker command from the List sub-menu).
- The group ticker will appear in the List window under the list name.
6. Next, insert tickers into the group. To insert tickers into a group:
Under the new group, insert all of the tickers that will make up the
group by doing the following:
- Select the group ticker in the List window by clicking on it.
- Select in your Master Ticker List the tickers that you want to add to the group. If you are inserting multiple tickers, hold down the Ctrl key while clicking each ticker.
- Click the Insert to List button on the toolbar (or select the Insert Ticker command from the List sub-menu).
- The tickers will appear in the List window under the group ticker.
7. Finally, compute the index for the new group. To compute a group index:
- Select Compute Group/Sector Indices from the Utilities sub-menu.
- In the Compute Group/Sector Indices dialog box, click the Compute List(s) option button.
- In the text box for Compute List(s), select the name of the list you created above.
- Under Range, choose Update from Last Date of Data and click OK.